How to Remove Silicone Sealant Successfully
First Published May 27, 2025
Silicone sealants are durable and long lasting, but sometimes nature takes over and they can become permanently mouldy or discoloured. This generally signals the need to change or repair, necessitating removal of old material. So lets take a look at how to remove silicone sealant.
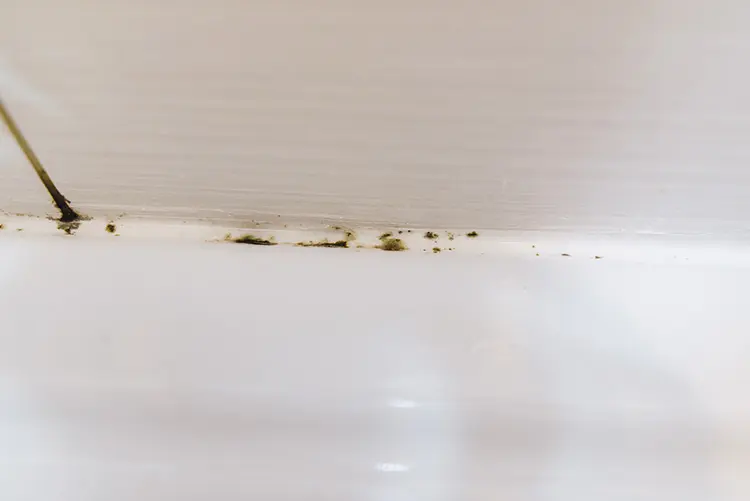
Impregnated mould in old sealant is unsightly and unhygienic
Why Remove Old Silicone?
Beyond pleasing aesthetics, there are a few practical reasons to remove old silicone sealant.
Impregnated Mould and Mildew
The most common reason to remove old silicone sealant is because it gets mouldy. This often happens in bathrooms, where the damp, humid conditions are ideal for mould and mildew to grow. Mould is not only unsightly, it is also unhygienic.
Elastic Deterioration
Depending on the environment and the quality of the original product, over time, silicone sealants can crack, peel, and lose their elasticity. Once again this doesn’t look great and eventually its waterproofing capabilities will fail.
Preparation for New Sealant
While it might seem tempting, we strongly advise against placing new sealant on top of old. Applying new silicone over existing is simply masking the root problem. It will not create a strong, durable bond and more often than not will quickly lead to premature failure. So a clean, dry, and lump free surface is essential.
Helpful Tools and Materials
Knowing how to remove silicone sealant is one thing, but good preparation before hand will always help make any job less demanding. So here are a few helpful tools and materials that you can add to your sealant removal arsenal to make the job much easier.
- Sharp utility knife or Stanley knife: A good knife is essential for cutting away the bulk of old sealant.
- Scraper tool: A dedicated silicone removal tool is a good choice. Alternatively a stiff plastic scraper or a razor blade scraper can be used, but always use with caution on delicate surfaces.
- Pliers: Much better than your fingers for gripping and pulling away large strips of stubborn silicone.
- Wet wipes and cleaning towels: For wiping away residue and cleaning.
- Silicone remover (Optional but recommended): These liquid or gel products are specially formulated to soften silicone.
- Methylated Spirits or Acetone (Optional): For cleaning up stubborn residues. However always test on an inconspicuous area first (especially on plastic baths) and ensure good ventilation.
- Protective eyewear: Especially when using removal chemicals and sharp tools.

Carefully make deep cuts along the edge of the sealant bead
How to Remove Silicone Sealant in Five Steps
- Plug the waste: If you are removing sealant from around a bath or sink we strongly recommend that you cover the waste. This will protect you from accidentally washing old sealant down plug holes – which is something you should avoid. This is because just a little sealant jammed in the bathroom waste will likely result in future blockages, not to mention negatively impact the environment further down the waste cycle.
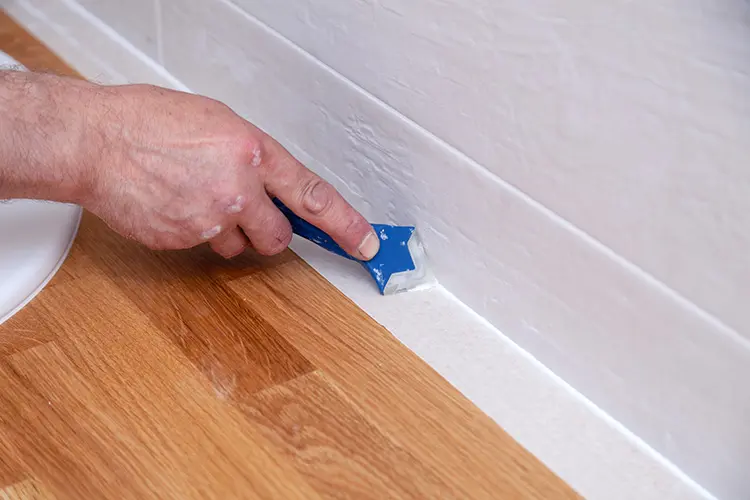
- Make deep cuts: Using your sharp utility knife, carefully cut along both edges of the silicone bead. However, DO NOT hack at the sealant, as this will leave unsightly scratch marks on baths etc. Try to get as close to each substrate as possible without scratching the surface. If the bead is thick, make a cut down the centre as well. This process will help break adhesion and make the sealant bead easier to pull away.
- Pry and pull away: Starting at a corner of the silicone bead, using your utility knife or scraper, begin prying the sealant. Once you have a good grip, use the pliers or your fingers to pull it away in long strips. Constantly re-target your pulling point to the part of sealant closest to the bond, this will help prevent snapping and remove more in one go. You might be surprised at how much comes off cleanly.
- Introduce silicone remover (If needed): If you’re struggling with stubborn residue, a dedicated silicone remover product will take care of this. These come in liquid or gel forms and work by breaking down the silicone’s chemical bond. Check the manufacturer’s instructions and apply remover to the remaining residue. Allow it to dwell for the recommended time. Afterwards the silicone should have softened, making it easier to remove with your scraper or even wipe away with a cloth.
- Clean and degrease surfaces: To finish off, wipe down the area thoroughly using decorators wet wipes or a clean cloth. For a truly clean surface, you could also use acetone, which will help dissolve any remaining silicone or oily film. Ensure all surfaces are completely dry before applying your new sealant, as any moisture or residue will interfere with its adhesion.
Top Tips for Successful Silicone Removal
-
- Introduce a little heat: For very old, brittle silicone, gently warming it with a hairdryer can sometimes make it more pliable and easier to remove.
- Spray washing up liquid: If the adjacent substrates are rough or textured, lightly spray the sealant with a mixture of washing up liquid and water to lubricate the area. This will help when sliding the blade along the silicone edge, but be extra careful with your knife!
- Protect surrounding areas: Cover adjacent surfaces with removable tape, dust sheets or a specialist surface protector, especially when using chemical removers.
- Be patient: This isn’t a quick job and rushing things can lead to scratches.
Be patient and eventually your efforts will pay off
Final Thoughts
Following best practice for how to remove silicone sealant might make it appear to be a somewhat gruelling task. But eventually your efforts will create a clean, dry foundation for a new long-lasting sealant finish.
So by following these simple steps and employing the right tools with a little patience, you’ll get the job done in the shortest possible time. And set yourself up nicely for a fresh new look.
Further Reading
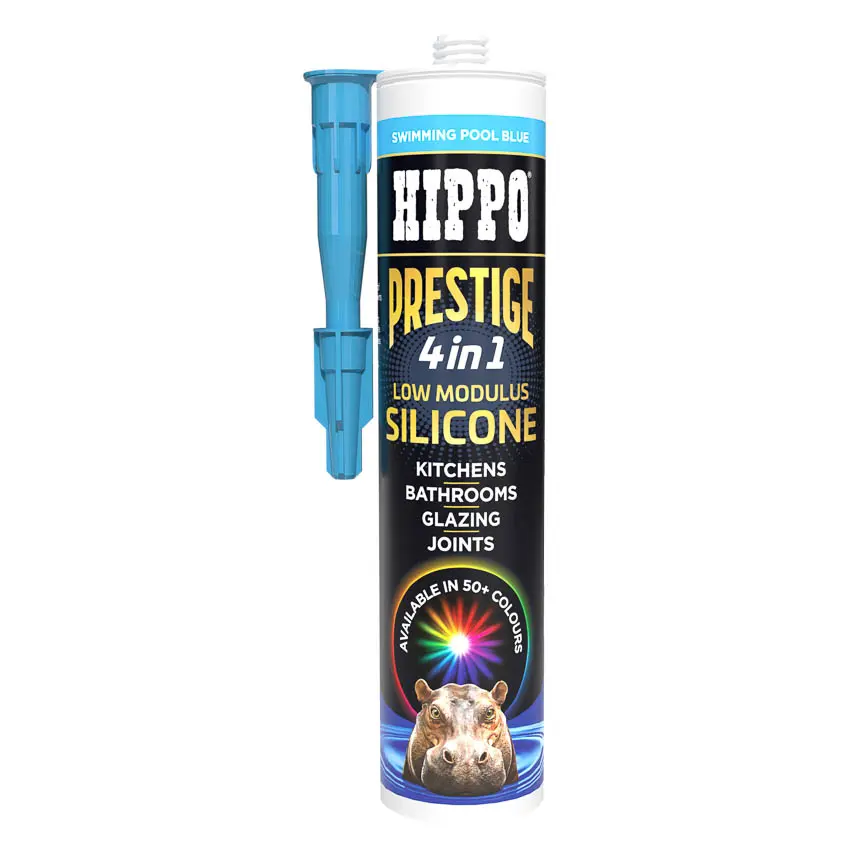
Selecting the best silicone sealant for any project can sometimes seem daunting. To learn more about which silicone best meets your specific needs, take a look at our feature guide about understanding different types of silicone sealants.